Hardware Behind the Consoles - Part I: Microsoft's Xbox
by Anand Lal Shimpi on November 21, 2001 3:47 AM EST- Posted in
- Systems
Disassembling the Unit
Taking apart the Xbox is actually not all that difficult, provided that you have an Allen wrench set in order to unscrew the torque screws. As usual, we accept no responsibility for any harm this causes to your Xbox. Opening up the unit will void your warranty.
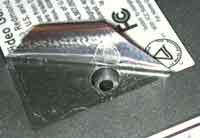
1) First remove all of the external screws. There is a single screw located under each one of the feet of the unit as well as two hidden screws. One is under the FCC sticker and the other is under the serial number label.
 |
 |
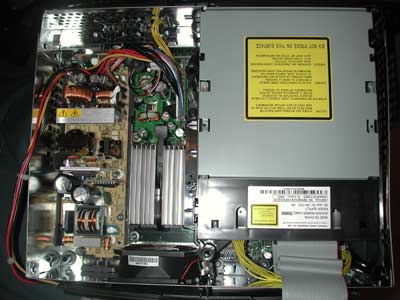
2) Flip the Xbox back over and you should be able to pull the cover straight off, this is what you will see:

3) Unplug the IDE cable and power cable from the hard drive. There is one screw holding the hard drive tray in place, remove it. This will allow you to remove the hard drive tray. Be sure to untangle the power cord from its guides on the hard drive tray.

4) There are two screws holding the DVD-ROM drive in place, both are at the very front of the system; one on each side. Remove those and be sure to disconnect the yellow power and IDE cables going to the drive before pulling it out of its resting place.
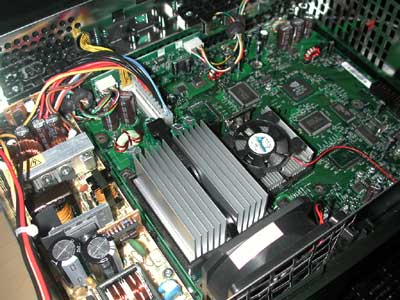
5) Now you should have access to everything. If you wish to take out the motherboard, it is held in by screws just like any other motherboard would. Be sure to handle it with care and please wear static protection when doing so.


1 Comments
View All Comments
Anonymous User - Monday, October 6, 2003 - link
Awesome, informative article. The author did an excellent job of researching the platforms. Keep up the good work!