Shuttle's SV24: Our smallest desktop PC
by Jeff Brubaker on December 27, 2001 1:17 AM EST- Posted in
- Systems
Hard Drive Installation
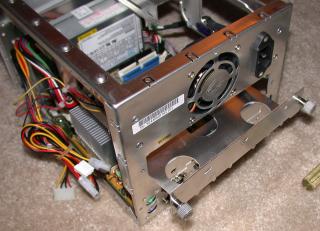
As mentioned before, the hard drive installs below the rear (and only) fan. This is accomplished with an interesting rear-entrance mounting bracket.

The mounting bracket slides out the back of the case and is secured with thumb screws. In fact, the entire case came with thumb screws, a total of 5. This picture actually shows the HD sled upside-down. When installed, the HD will "hang" above the CPU. This could potentially create heat issues when combining a Pentium III, a PCI card and a hot hard drive, although we experienced no such issues with our C3 and a 7200 rpm Western Digital HD. One annoyance with this layout is that there is very little room for that small IDE cable we already mentioned. We bent the cable to the outside of the side rails, thus avoiding any air flow restriction, but this made is somewhat more difficult to take off and replace the shell. Perhaps the cable wasn't quite so small, after all.

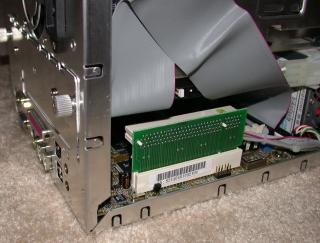
Here, you can see that bent IDE cable attached to the already installed HD. After setting up the machine, we realized wireless Ethernet (802.11) would make a nice addition, so we added a wireless PCI adapter (Linksys WDT-11). Here, we noticed a few rough spots.


0 Comments
View All Comments